Resources / Tutorial
Using JavaScript in the FileMaker Web Viewer
A step-by-step guide to running JavaScript inside a Web Viewer and talking back and forth between the page and your FileMaker solution — the foundation for charts, rich UI, and JS libraries inside FileMaker.
A Web Viewer turns a FileMaker layout into a tiny browser, which means anything you can do on the web — charts, maps, interactive widgets, JavaScript libraries — you can do inside FileMaker. The trick is the two-way bridge: JavaScript calling FileMaker scripts, and FileMaker calling JavaScript functions. Here's the whole setup from a blank file.
Step 1 — Create a new FileMaker file
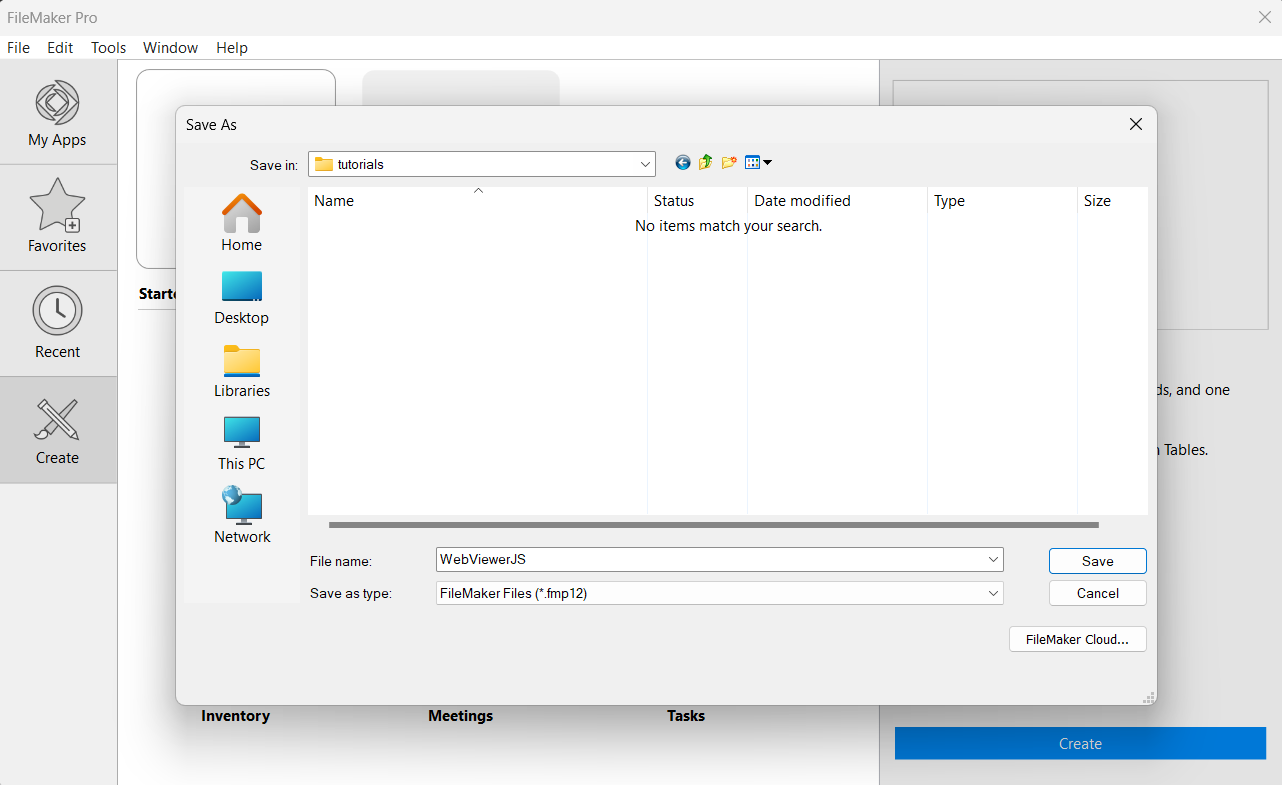
- Open FileMaker Pro.
- Go to File > New Solution.
- Name your file (e.g.
WebViewerJS) and choose a location to save it. - Click Save. The database window opens.

Step 2 — Create an HTML field
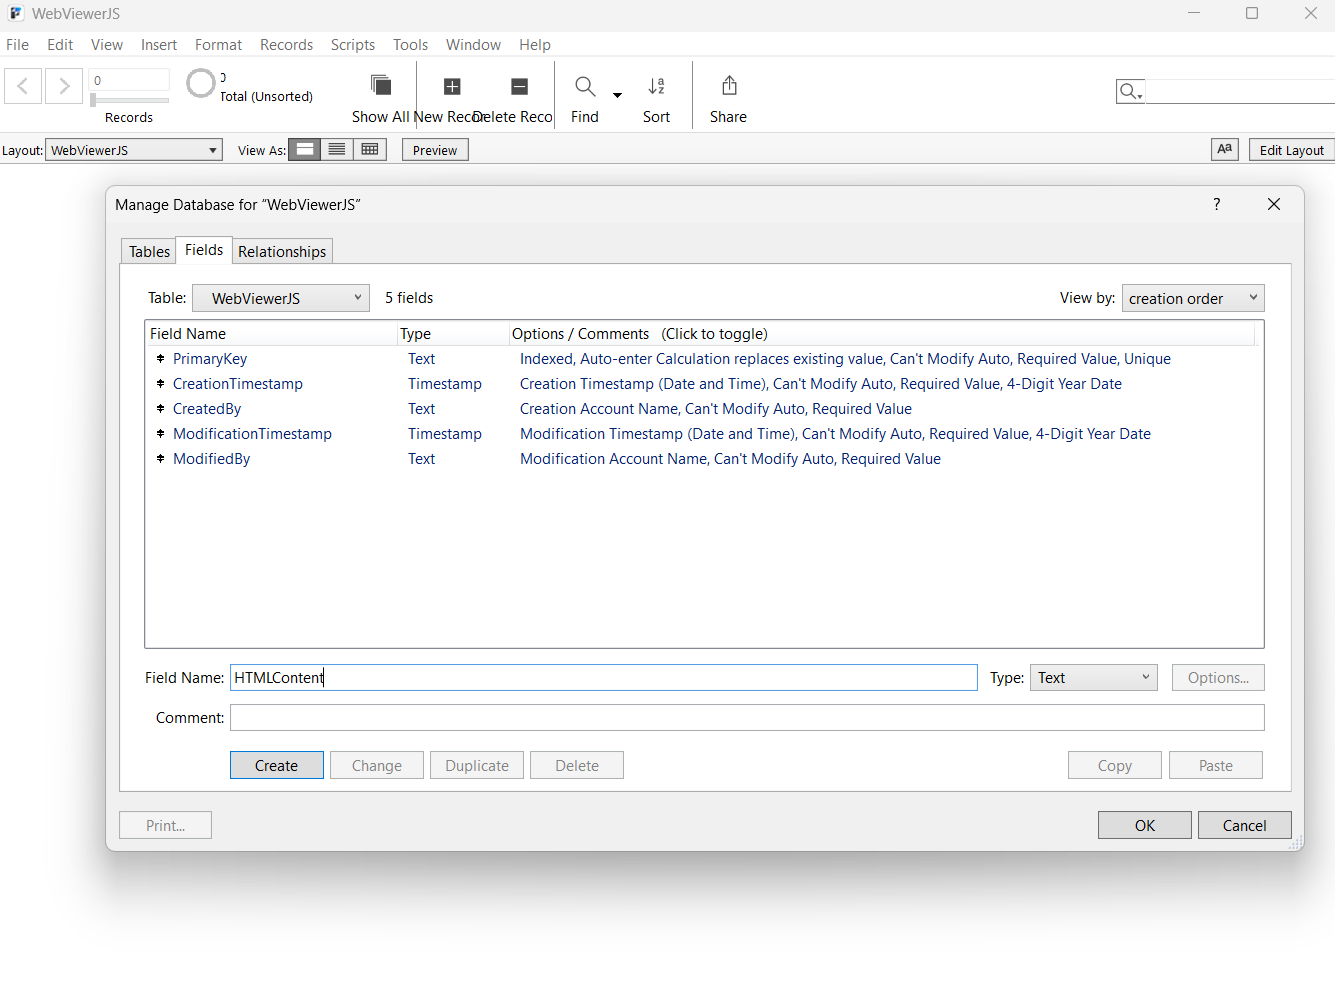
- Go to File > Manage > Database.
- On the Fields tab, create a new text field named
HTMLContent. - Click OK to save the field.
Step 3 — Add the HTML template to the field
In Browse mode, click into the HTMLContent field and enter this template. It defines a function that calls FileMaker, and one that FileMaker can call:
<html>
  <head>
    <title>FileMaker Web Viewer</title>
    <script>
      function sendToFM() {
        FileMaker.PerformScript("ReceiveFromJS", "Hello from JavaScript!");
      }
      function receiveFromFM(message) {
        document.getElementById('message').innerText = message;
      }
    </script>
  </head>
  <body>
    <h1>FileMaker Web Viewer with JavaScript</h1>
    <button onclick="sendToFM()">Click Me</button>
    <p id="message"></p>
  </body>
</html>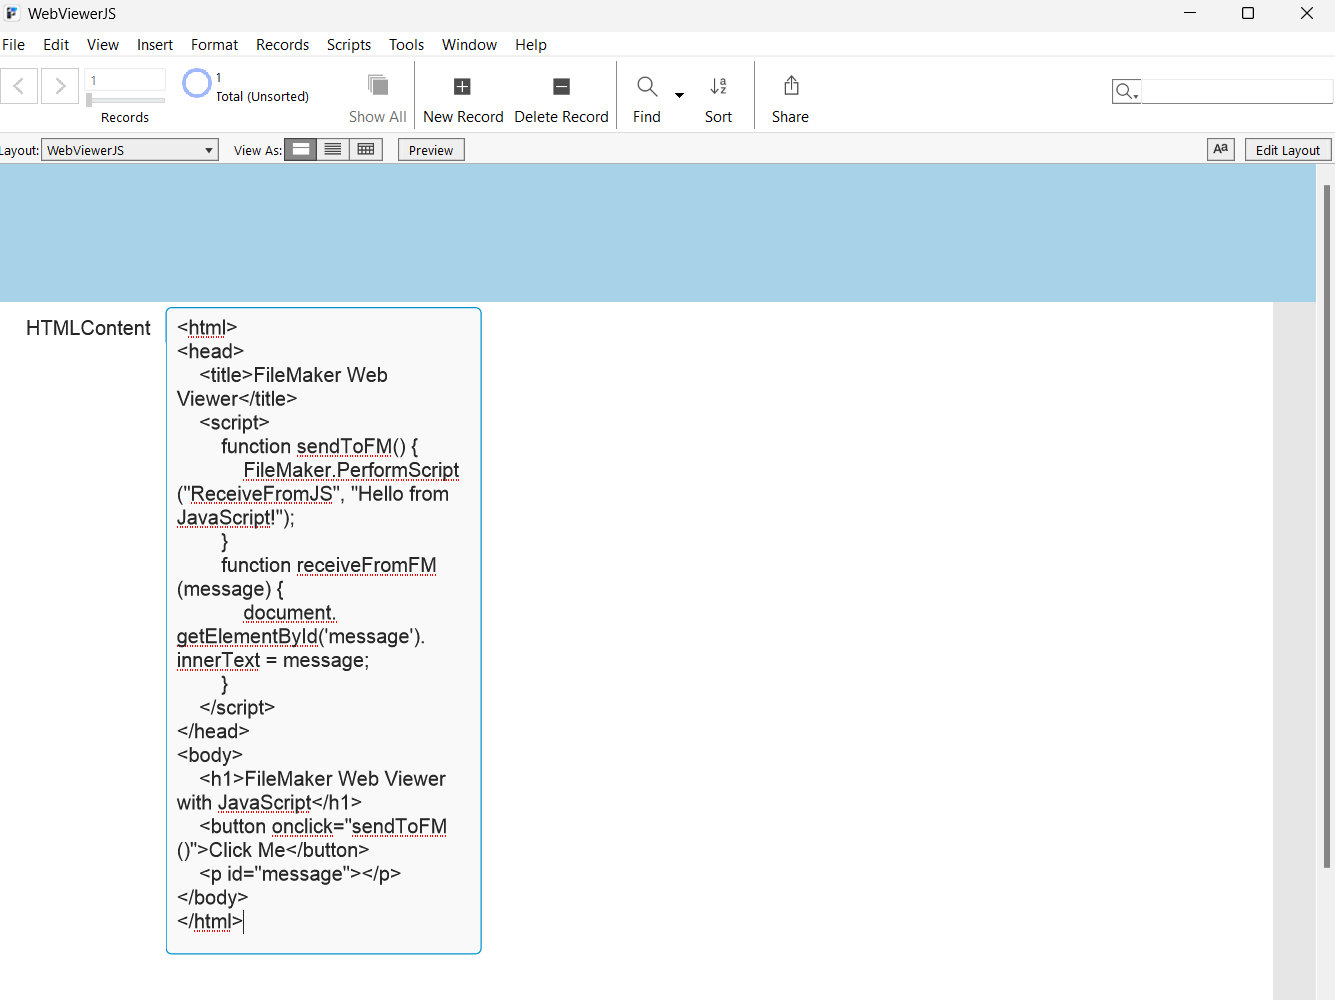
Step 4 — Add a Web Viewer to the layout
- Switch to Layout mode.
- Select the Web Viewer tool from the toolbar.
- Draw a rectangle where you want the Web Viewer to appear.
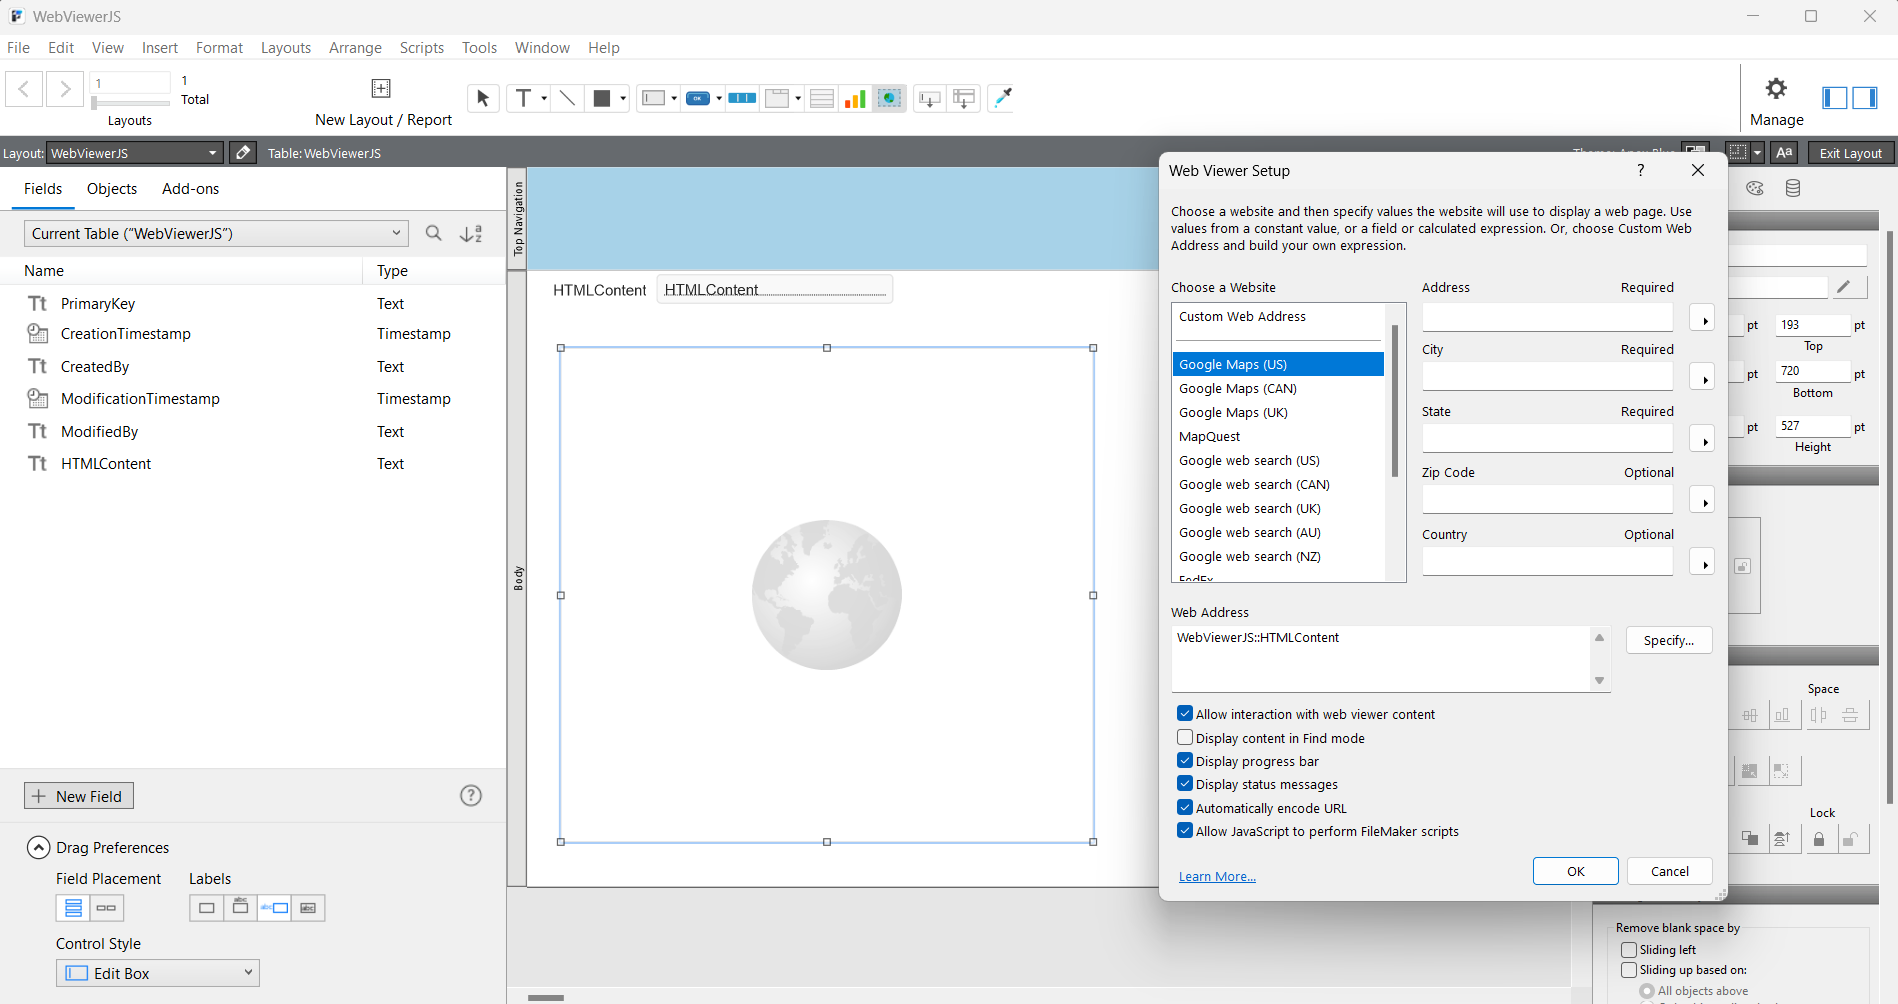
- The Web Viewer Setup dialog opens.
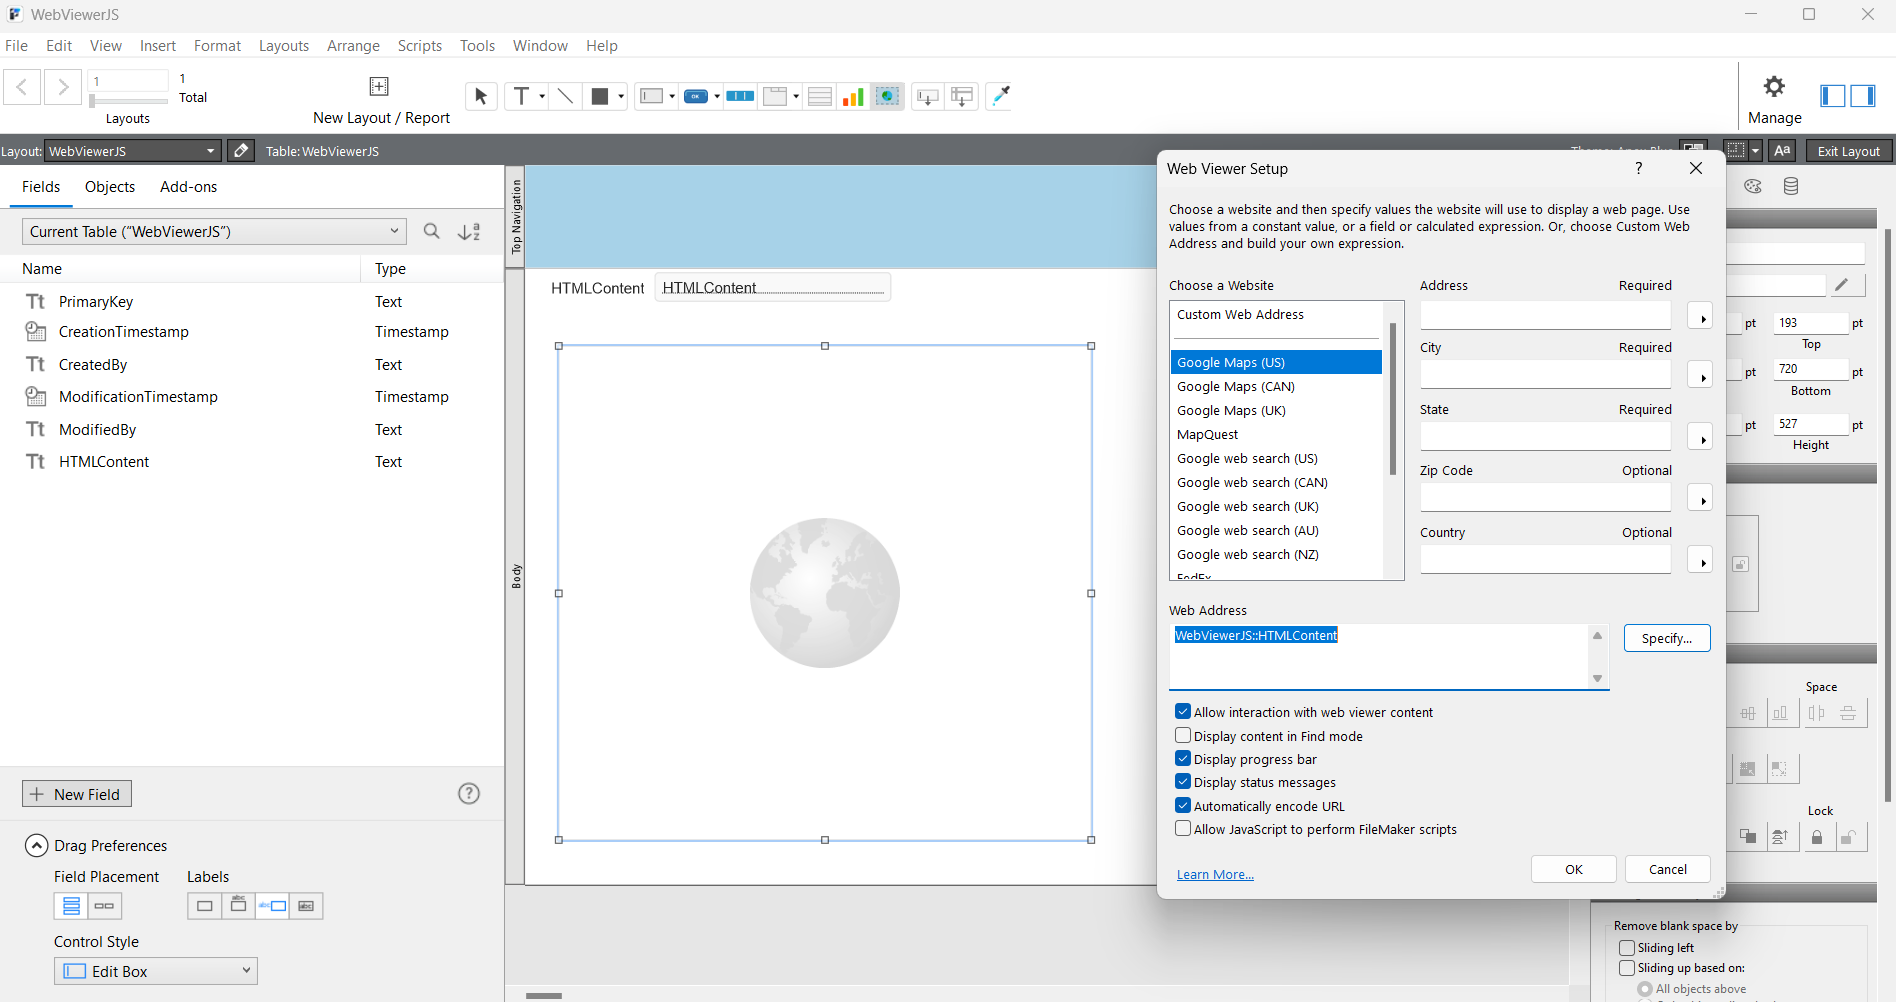
Step 5 — Point the Web Viewer at the HTML field
- In the setup dialog, choose Specify Custom Web Address.
- Enter a formula that renders the field's HTML inline:
"data:text/html," & YourTable::HTMLContent - Enable Allow JavaScript to perform FileMaker scripts — this is what makes the bridge work.
- Set the object name to
WebViewerin the Object Name field. - Click OK.
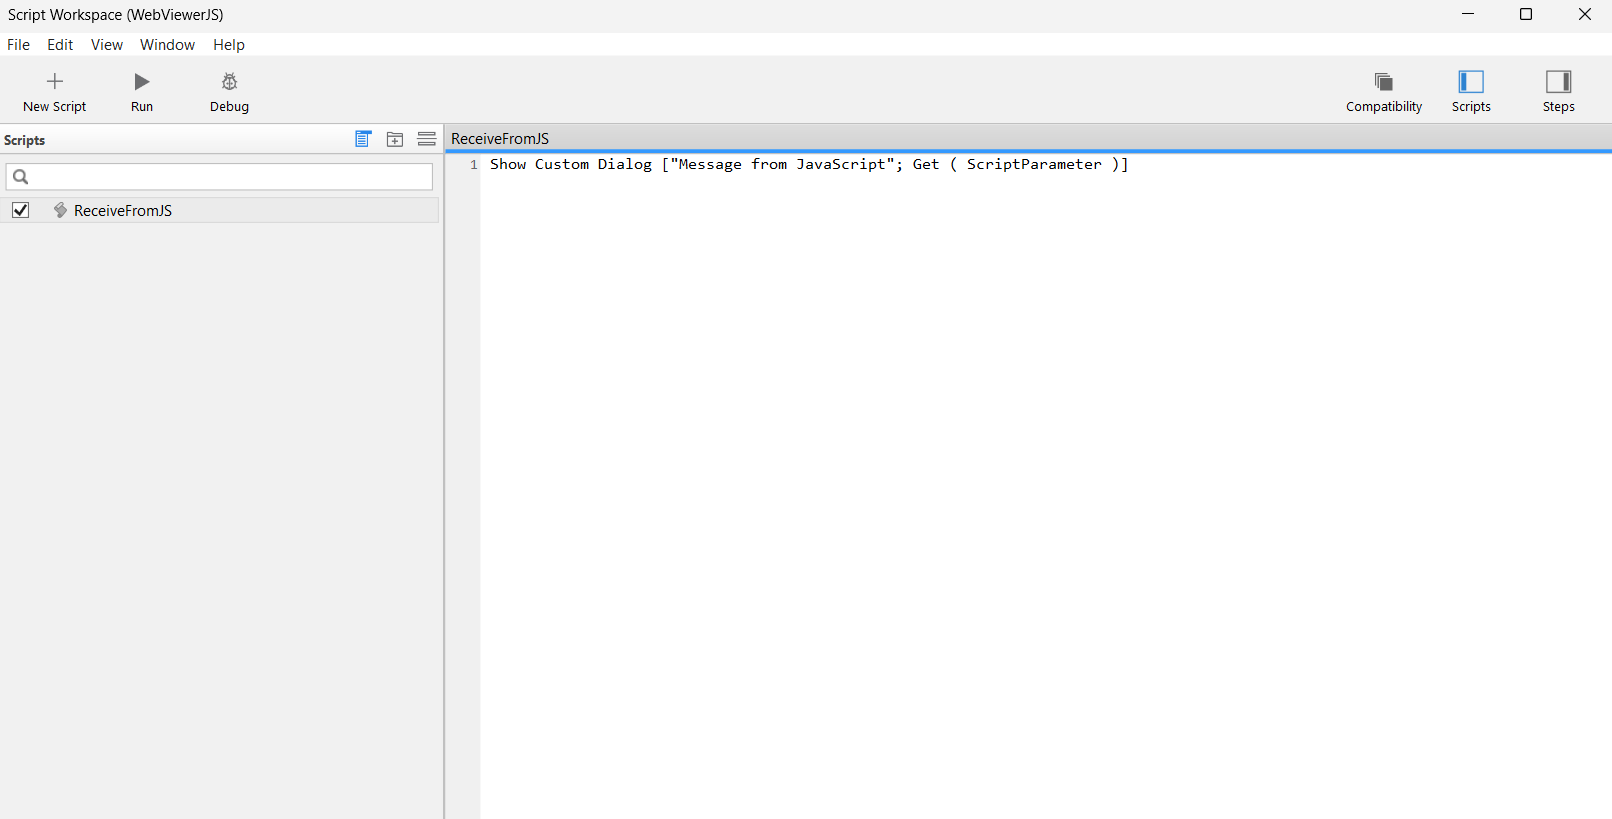
Step 6 — Create a script to receive JavaScript calls
- Go to Scripts > Script Workspace.
- Create a new script named
ReceiveFromJS. - Add a single step:
Show Custom Dialog [ "Message from JavaScript" ; Get ( ScriptParameter ) ] - Save and close the script.
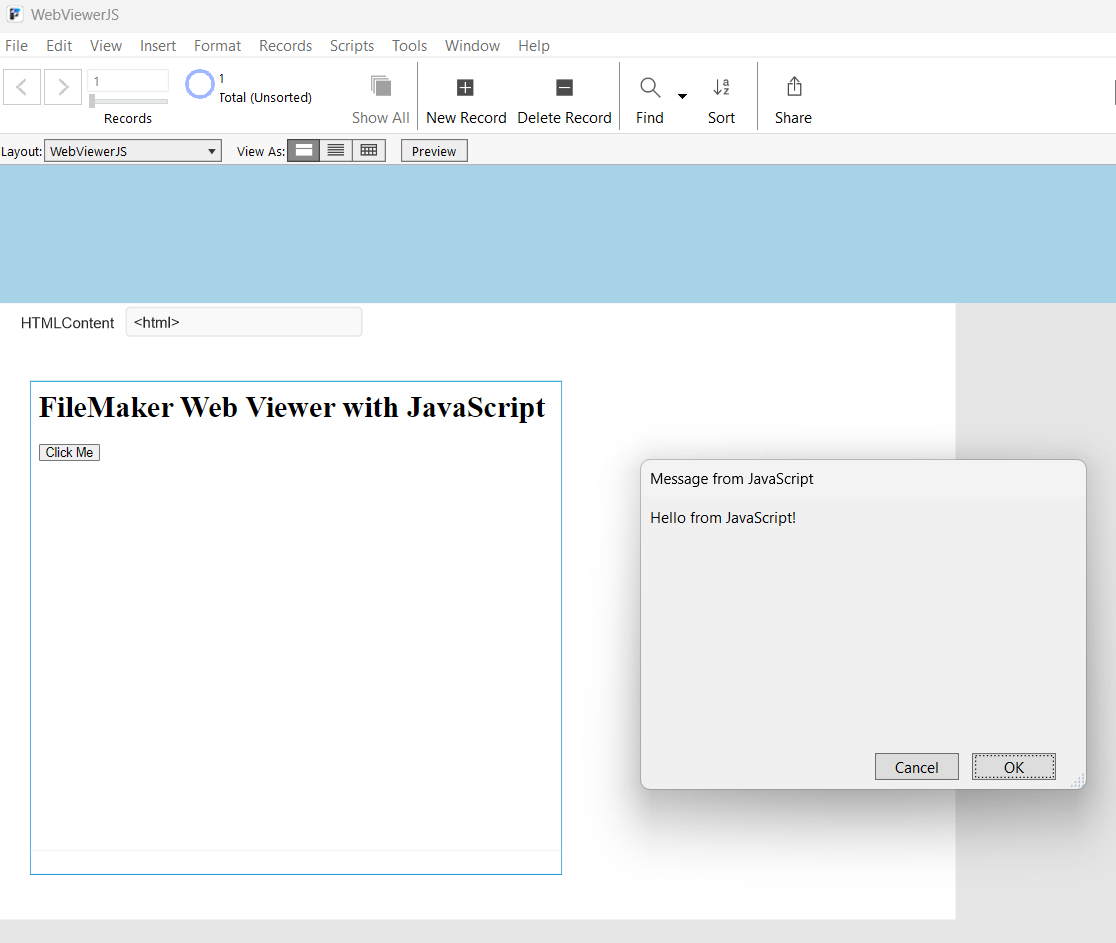
Step 7 — Test the bridge
- Switch to Browse mode.
- Click the button in the Web Viewer.
- You should see a dialog with "Hello from JavaScript!" — JavaScript just ran a FileMaker script.
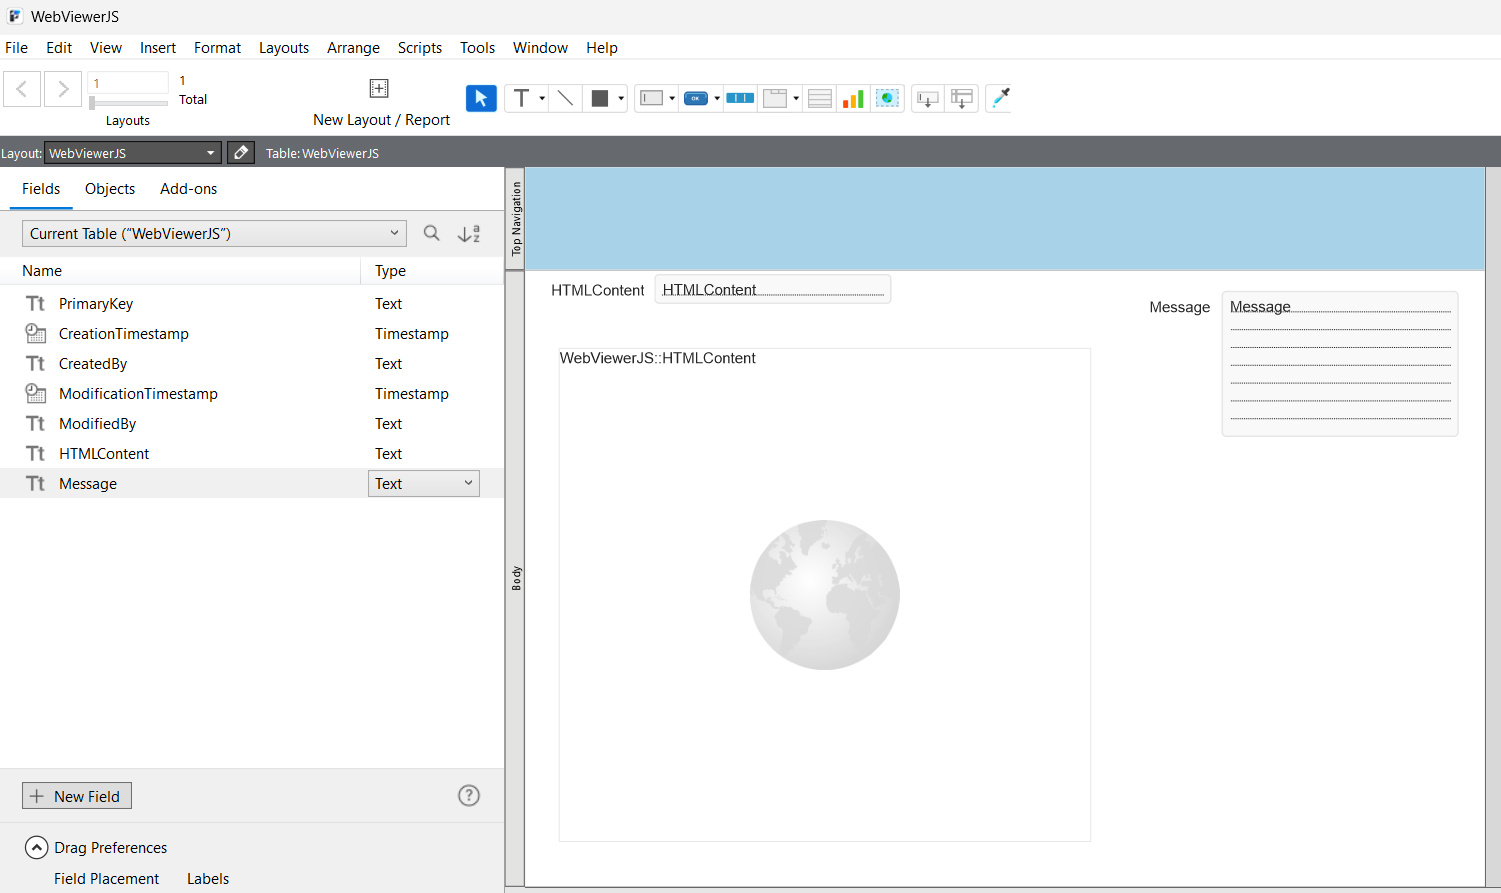
Going the other way: FileMaker → JavaScript
The bridge runs both directions. To push data into the page, call a JavaScript function from a FileMaker script with Perform JavaScript in Web Viewer:
Perform JavaScript in Web Viewer [
    Object Name: "WebViewer" ;
    Function Name: "receiveFromFM" ;
    Parameters: YourTable::Message
]
That calls the receiveFromFM function from the template, which writes the value into the page. Trigger it whenever you want FileMaker to update the Web Viewer.
That's the whole foundation: FileMaker.PerformScript to call in, Perform JavaScript in Web Viewer to call out. Once the round trip works, you can drop in any web library and treat the Web Viewer as a full UI surface inside FileMaker.
Want richer UI inside FileMaker?
Charts, dashboards, and JavaScript-powered interfaces built into the solution your team already uses. I do this work directly — let's talk about what you need.
Work with me